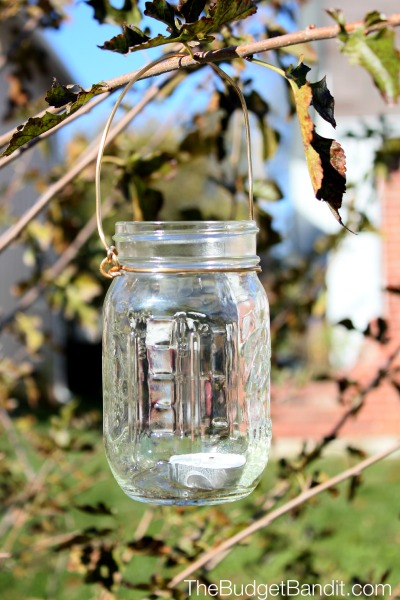
DIY Shabby Chic Hanging Mason Jar Lanterns
I love these fabulous shabby chic Hanging Mason Jar Lanterns! I saw them in a magazine and just knew I wanted to make some for my Fall home decor! I love DIY’s and this one was so much fun! At first sight this project was a little intimidating. I was wasn’t sure I would be able to pull it off. However, I was hugely surprised by how easy it was! Once I got going I had to force myself to stop making these awesome little lanterns. Use these mason jar hanging lanterns as centerpieces in your home, hang them outdoors to freshen up a party, create a shabby chic look to your wedding decor and more!
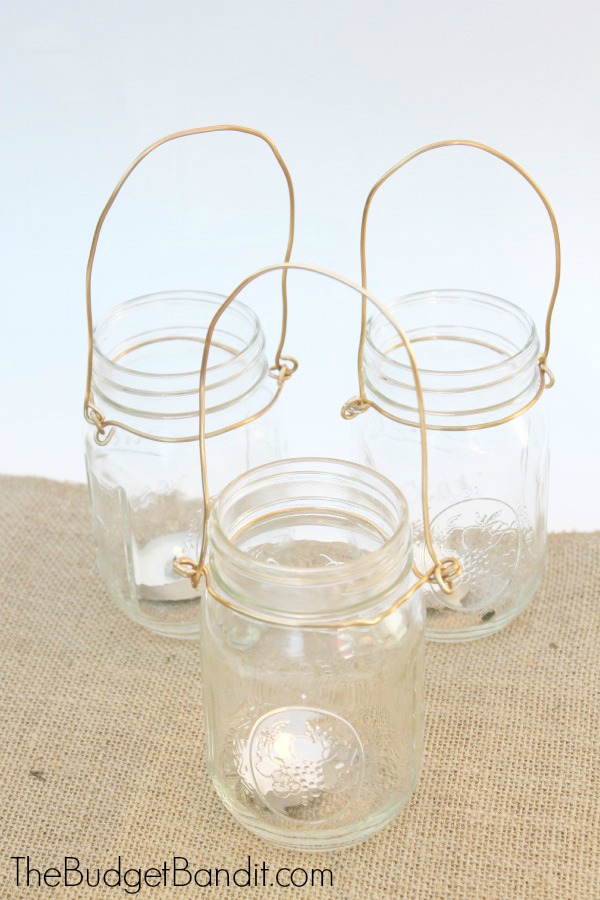
Supplies Needed:
- Mason Jars (I used pint sized)
- 24 inches (per jar) of 16-18 gauge wire (copper, brass, or colored craft wire)
- Wire cutters
- Needle or Round Nosed Pliers
- Candle or other embellishment for inside the candle
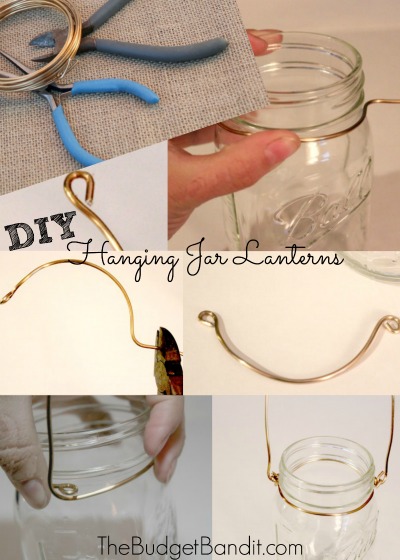
Directions:
- Cut 2 pieces of 14- 18 gauge copper wire, about 12 inches each.
- Take a piece of copper wire and create a “P” shape at the end of the wire. Wrap the wire half way around the mouth of the jar start to form the wire into a “U” shape. When you get the other side (half way around) bend the wire away from the jar and cut with the wire cutters about 1/2 inch away from the bend. (You are forming 1/2 of the piece that goes around the neck of the jar). (Refer to the image above.)
- With the remaining piece of wire. Create another “P”shape at the end of the wire. Leave the “P” loop slightly open so you can hook it through the original “P” shaped piece from the above step.
- Connect the two “P” shapes together and then begin forming the shape of the remaining piece of wire. When you get to the opposite side of the jar, bend the wire upwards. Create a “P” shape, connecting the piece to the previously made wire piece. Close up the last “P” and now your two pieces should be securely connected to the jar, creating the main “frame” of the lantern hanger. (Refer to the image above.)
Next with the second piece of 13 inch copper wire. Create a “P” shape. Leave it slightly open and put it through the previously made lantern hanger loop. Close up the “P” shape and gently pull the copper wire upwards to create the size and shape of handle you would like.
- Going through the opposite side loop created on the lantern hanger frame, create the last “P” shape. This will complete the lantern hanger.
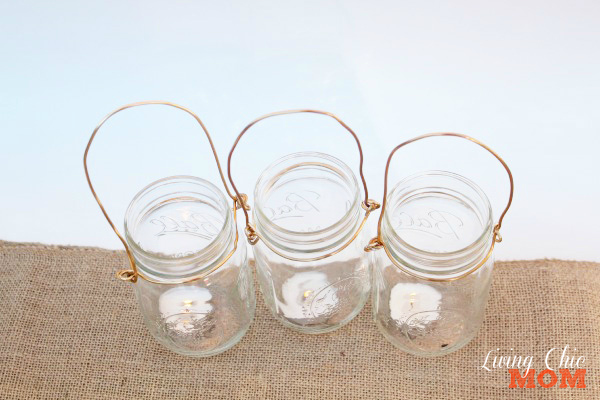
Have fun -fill your lanterns stones, candles, leaves or whatever works with your theme. Hang in a tree, use as a table centerpiece or fun decor for a party!






2 Comments
nicole dziedzic
We have so many jars like this laying around, great DIY for the deck, would be nice to put these out for a outdoor party in the summer.
Brittanie @Simplistically Living
These are so cute and will be perfect for decorating our patio. I cannot wait to enjoy Summer nights, music, and fun lighting. Great idea!