Shabby Chic Rosette Lamp Shade
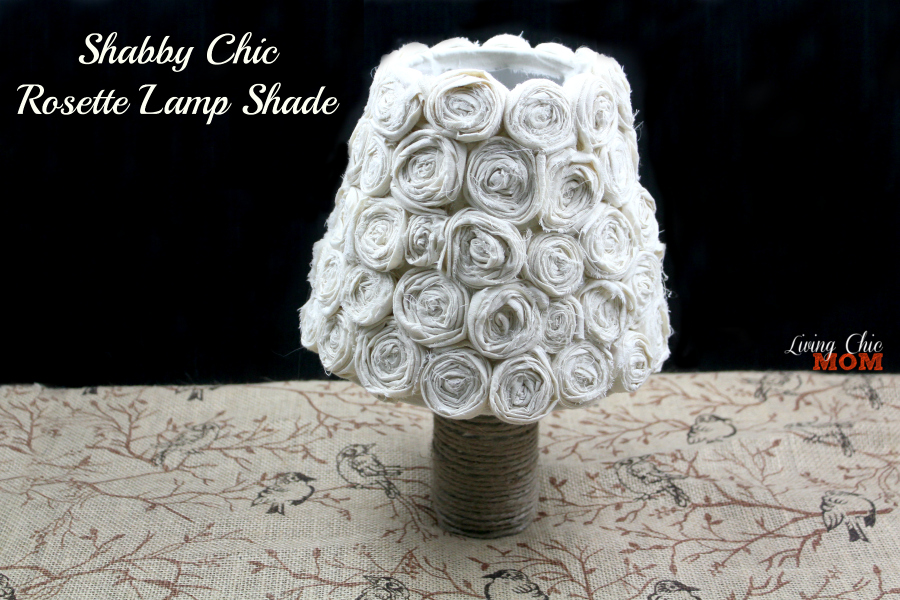
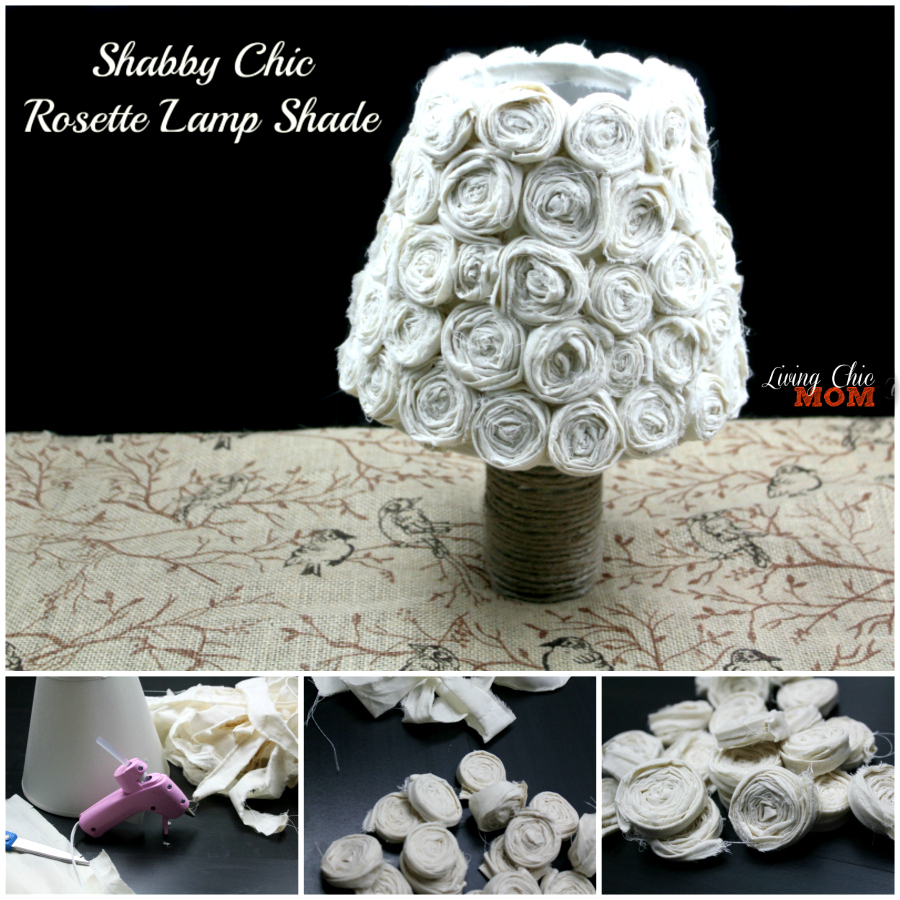
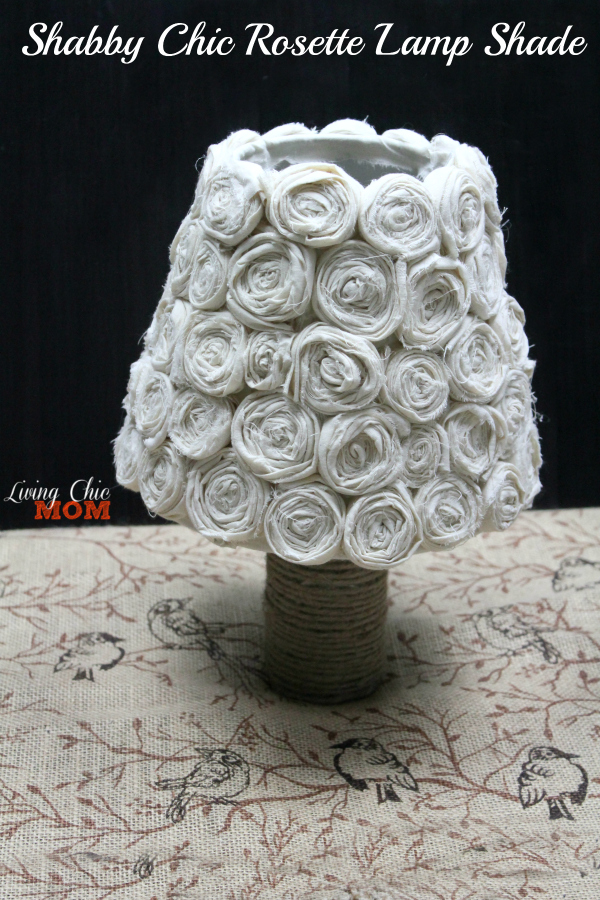
I am so excited about my new Shabby Chic Rosette Lamp Shade! It was really easy to make and turned out so beautiful! Other than a few little hot glue burns this project was one of the most simple, painless and exciting DIY’s I have ever done! One of my favorite things about this project is you can make it a totally budget friendly up-cycle, by using an old lamp shade you already own (or from Goodwill). You can also use old linen or muslin bedding or clothes to make the rosettes!
What You Will Need:
- 10″ Lampshade (new or used)
- 1.5 yards muslin or linen fabric
- Hot Glue Gun and Glue
- Scissors
To make this beautiful lamp shade you will need to follow a few simple steps:
- Take your muslin and cut slits in the fabric about 1 1/2 inches apart and tear the fabric to make long “raggedy” strips. Don’t worry about making the strips absolutely perfectly straight, muslin (or linen) fabric should tear pretty straight. You will need to about 75 strips of muslin to make enough rosettes to go around a small/medium sized lampshade about 10 inches in diameter. I got this lampshade HERE.
- Take a strip of muslin and roll from the outside around and around until you achieve a rosette. Using a small dot of hot glue, seal the end of the rosette closed.
- Once all of the rosettes are made, glue them one at a time to the lampshade. You can apply them starting at the bottom in a row and then continuing around until the entire lampshade is complete.
- To give my lamp shade a more finished look, I took a small strip of muslin and glued it along the bottom and top rims of the shade BEFORE putting on the rosette’s.


