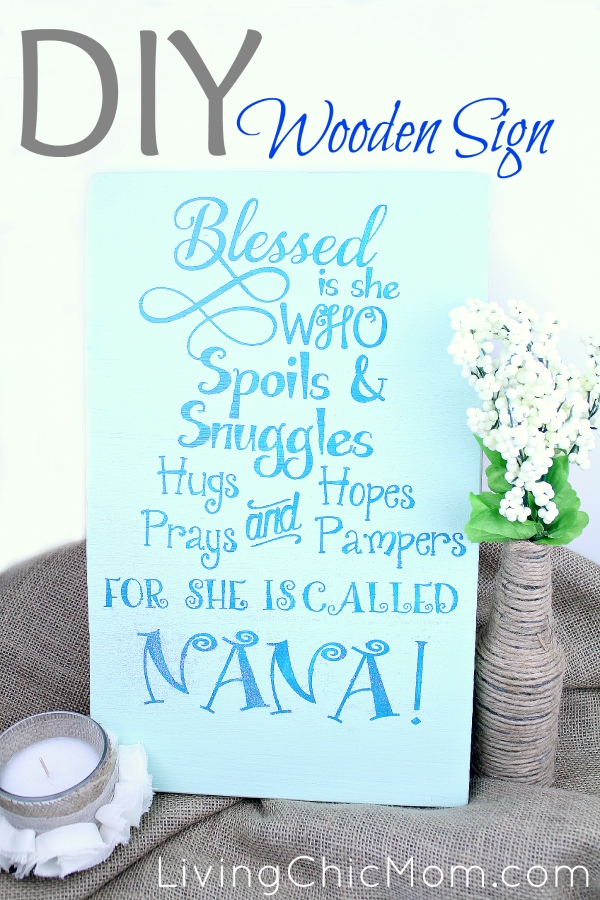
DIY Wooden Sign Tutorial (Blessed by Nana)
I have been having so much fun with my Silhouette Machine lately. Making so many unique fun pieces for my house and as gifts to give to friends! My most recent project was a gift for a good friend we call Nana Chris. She has lived with us for a little while now and is now moving out and moving across country. We are all so sad to see her go, so we wanted to make her a little something to say good bye and to remember us by.
This PVPP (paint, vinyl, paint, peel) was super easy to make and sooooo much fun! Checkout the tutorial below!
Supplies
- 12″ x 18″ Wood (we used sanded plywood)
- 2 colors of Deco Art Americana Chalky Paint (Vintage and Treasure
is what I used)
- Silhouette Portrait
(to make stencil)
- Expressions Vinyl (for the stencil)
- Minwax Polycrylic Protective Finish

Directions
- Cut your wood to the size desired. For me this was 12 inches by 18 inches. I used plywood because that is what we had laying around. Because plywood does not have a totally smooth surface, you have to make sure you give it a good sanding before applying your first coat of paint.
- Paint 1-3 coats of paint depending on how much coverage you want on your sign. I did one heavy coat and a second lighter coat.
- Create your stencil on your Silhouette Machine.
- Carefully press the stencil down to the dried paint. Paint a light coating of the base paint over the stencil. This will keep the paint from bleeding underneath the stencil. Once the base coat is dry. Paint your stencil with the second color. ***I used Vintage for the base color and Treasure
- Remove stencil once paint is dry (about 15 minutes).
- Allow the paint to set and dry completely for at least 24 hours.
- Once the paint had completely dried, seal the paint with a light coat of Polycrylic. Allow to dry for another 24 hours.

You May Also Like

Homemade Bug Spray Repellent – 100% Natural
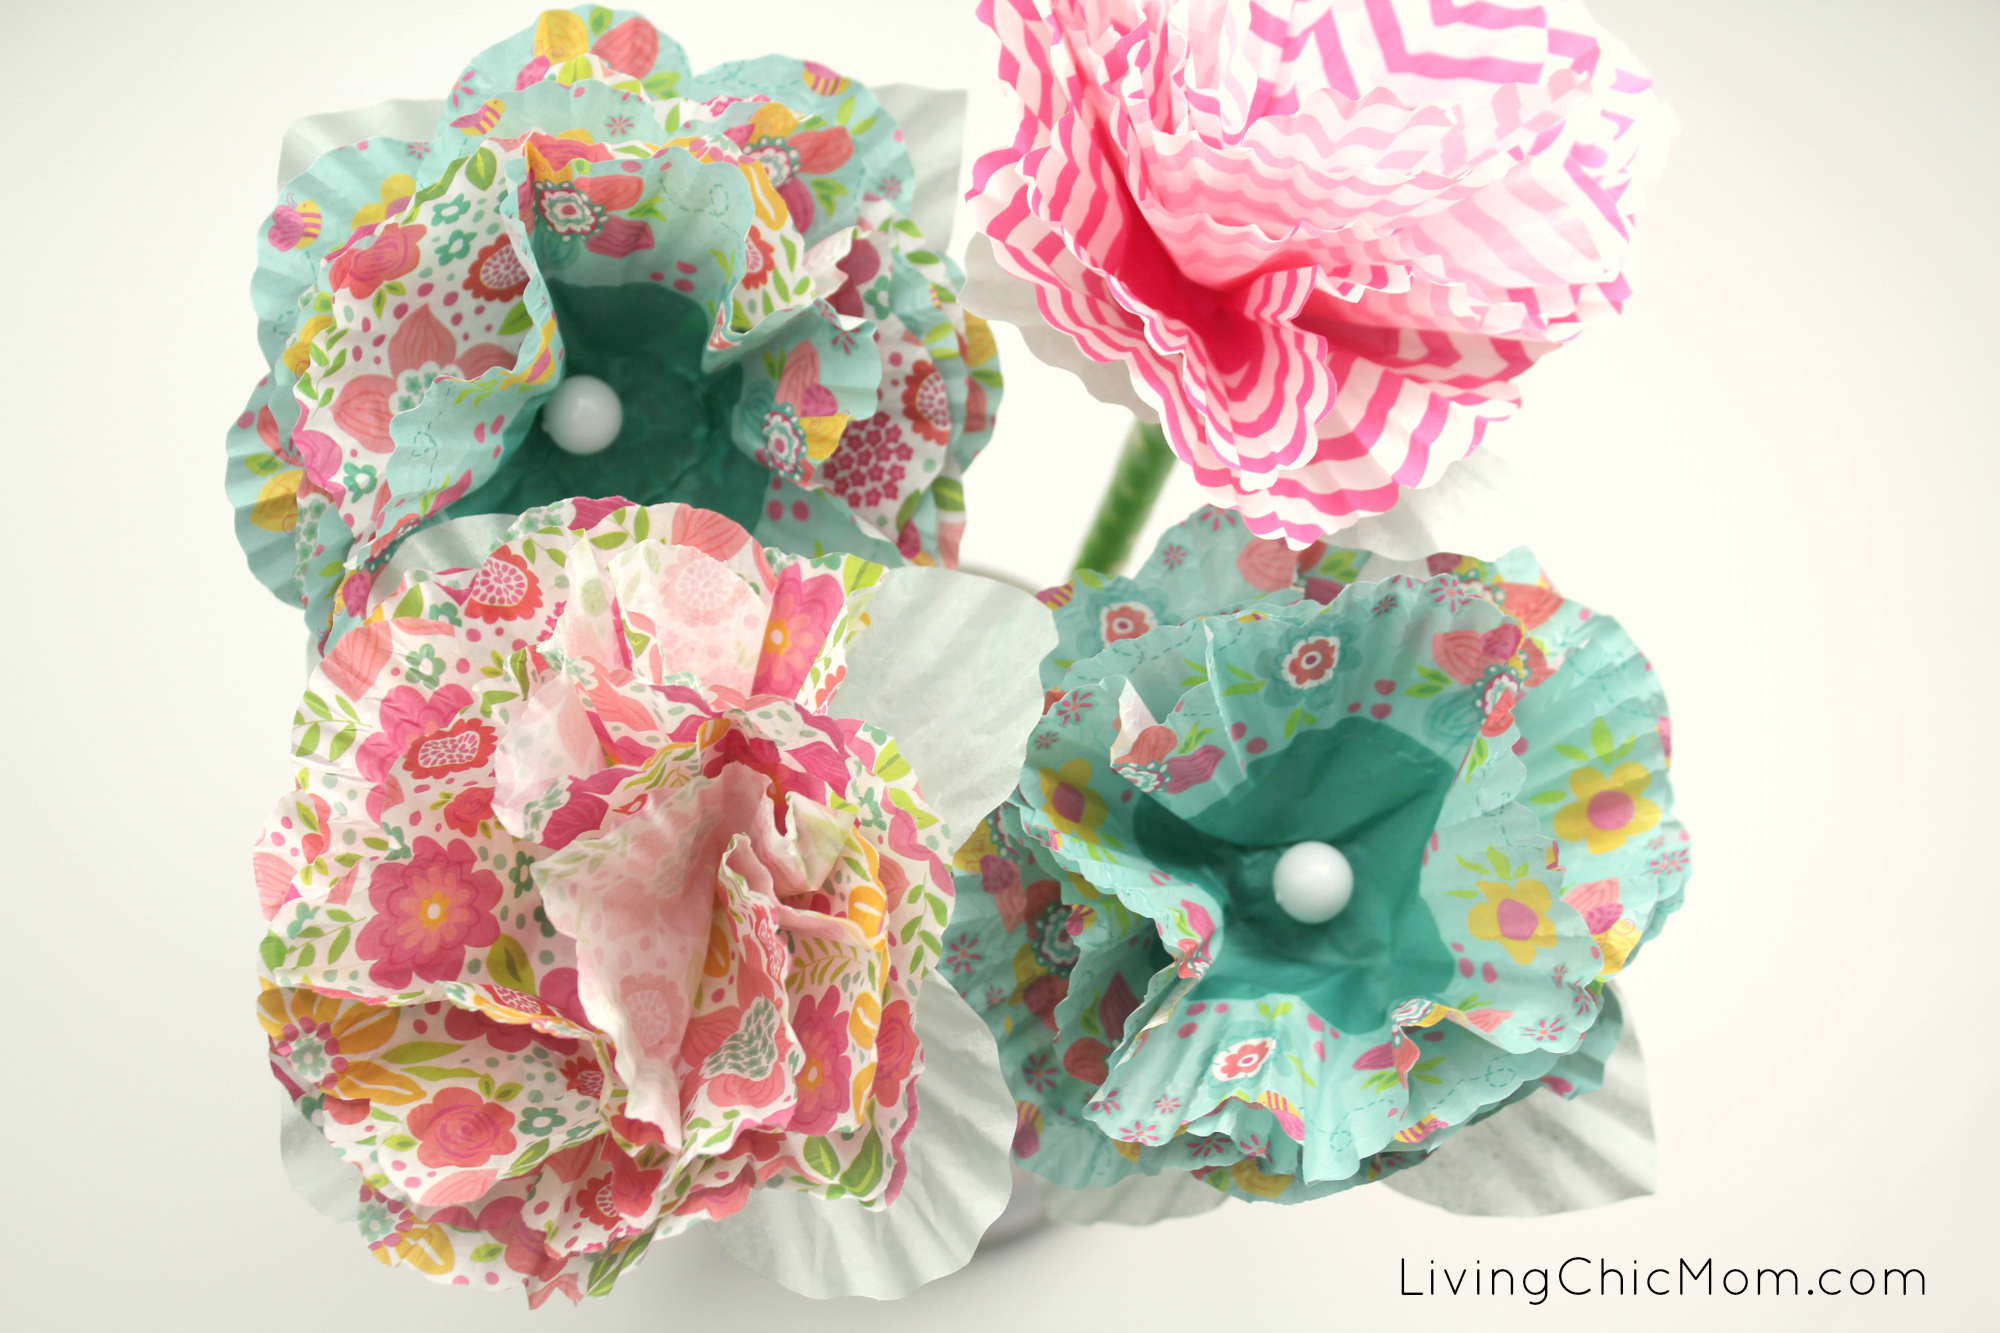
DIY Cupcake Paper Flower Pencils