Upcycled Juice Box Plant Starters
This is a sponsored post for Juicy Juice, all thoughts and opinions are my own.
I love finding creative ways to upcycle, recycle and use things that more often than not would often become trash! Since my kids LOVE Juicy Juice and go through tons of juice boxes a week. Especially right now with Covid-19 and having all 5 kids at home 24/7 homeschooling, hanging out and being bored out of their minds. I find having easy to grab snacks and treats a good way to help us all keep our sanity and enjoy our time at home a little more. Having all of the kids home has created a huge amount of extra “trash” around the house that I really didn’t want to see go to waist. Since we enjoy upcycling and recycling I was confident I could come up with some great ways to use all of those juice boxes floating around the house!
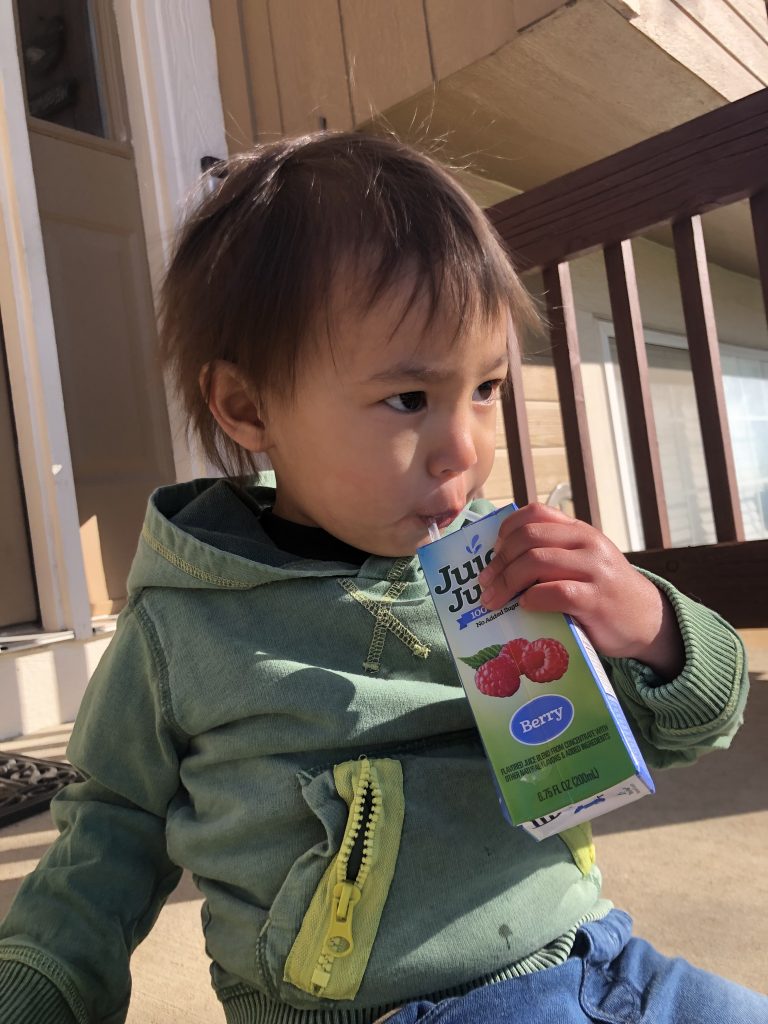
Who would have thought that your kids juice boxes could be used for something other than collecting trash in the corner of their bedrooms and under their beds? If your kids are anything like mine, they LOVE grabbing a Juicy Juice juice box and a snack several times throughout the day, but they don’t love throwing them away when they are done. Thankfully, I have discovered and amazing new use for those darn little boxes that has not only become very useful, but I was able to turn into a little science lesson for my kiddos on planting and growing!
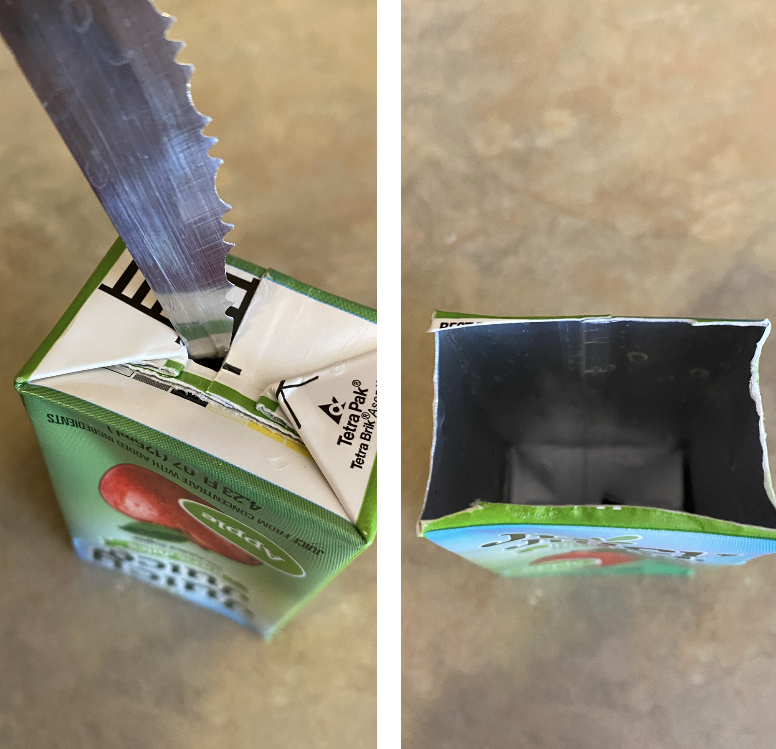
Here’s how we turned out juice boxes into starter pots for our Spring seed sprouts. First, I cut the tops off the juice boxes and poked a hole on the bottom of the juice box for draining. The kids enjoyed helping with the cutting and hole poking, it was the perfect little job for them!
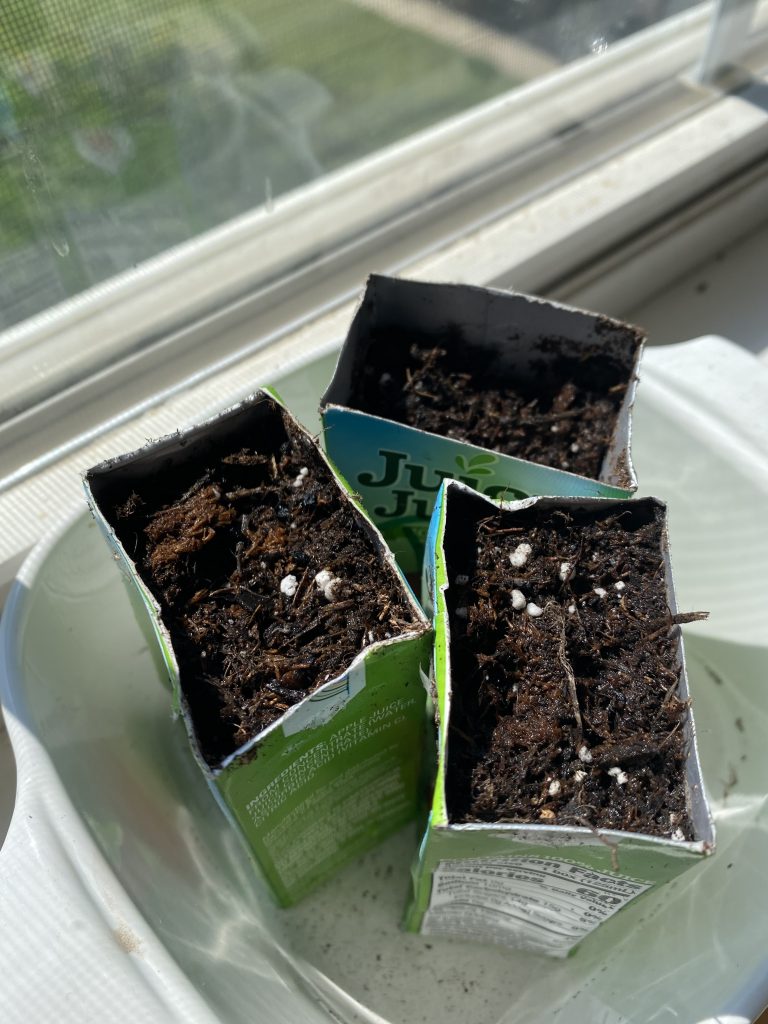
Next, we filled each juice box with potting soil. We made sure to pack them ever so slightly so that there wasn’t too much air inside, but they weren’t packed too hard.
We then added seeds to each juice box. As we added the seeds we marked the juice box with a letter to symbolize what kind of seeds were in each. For instance we marked the tomatoes with a T, the green beans with a B, and the green onions with an O. This was another fantastic job for my 1st grader and a way for him to practice his writing. You could also take colored paper and decorate the outside of each juice box (however we could not do that we were out of colored paper and well quarantine made finding some a bit more difficult).

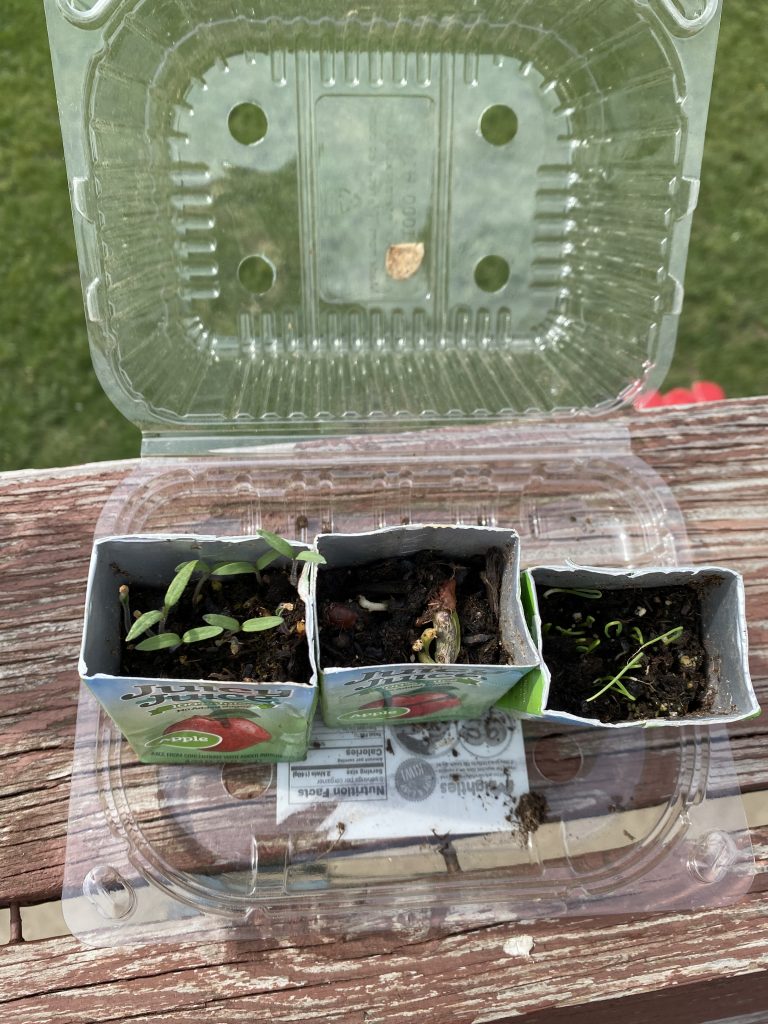
Once your seeds are added to your soil, add a small amount of water to each plant starter, and cover with plastic wrap (or if you have one I actually used a container that my kiwi came in and used it as a make shift green house!) You will want to keep your seeds covered and in a warm sunny window (or under a heat lamp) until you see the beginnings of little sprouts. Your little seeds and sprouts can’t the cold until they mature so make sure to keep them in a warm place inside if your temperatures are dropping at night.
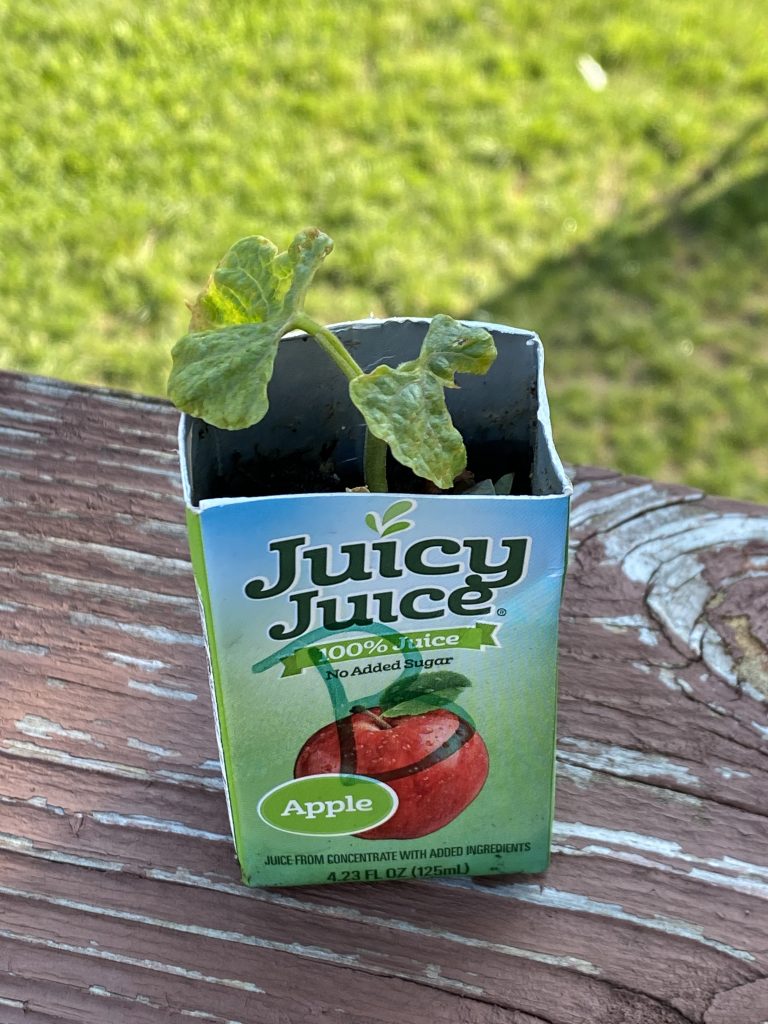
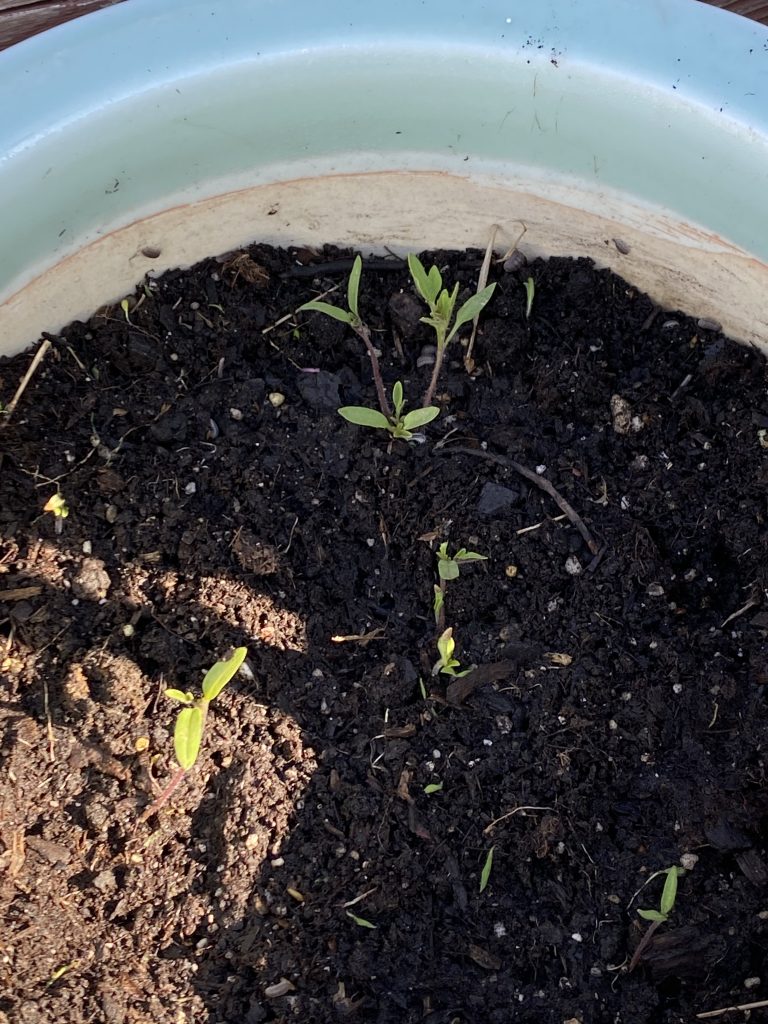
Finally, once your seeds have grown to about an 1-2 inches in height it is time to transplant them into a larger pot. This is the fun part, because now you will get to really watch them grow and eventually begin to flower or produce vegetation for you!
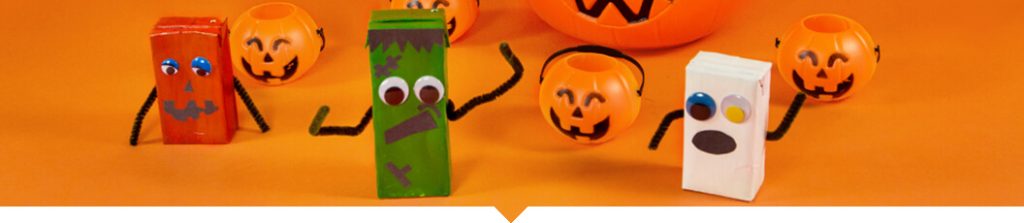
There are so many great ways to recycle and reuse what often times seems like trash! Check out these super cute DIY Monster Mash-Ups, also using Juicy Juice boxes.

You May Also Like
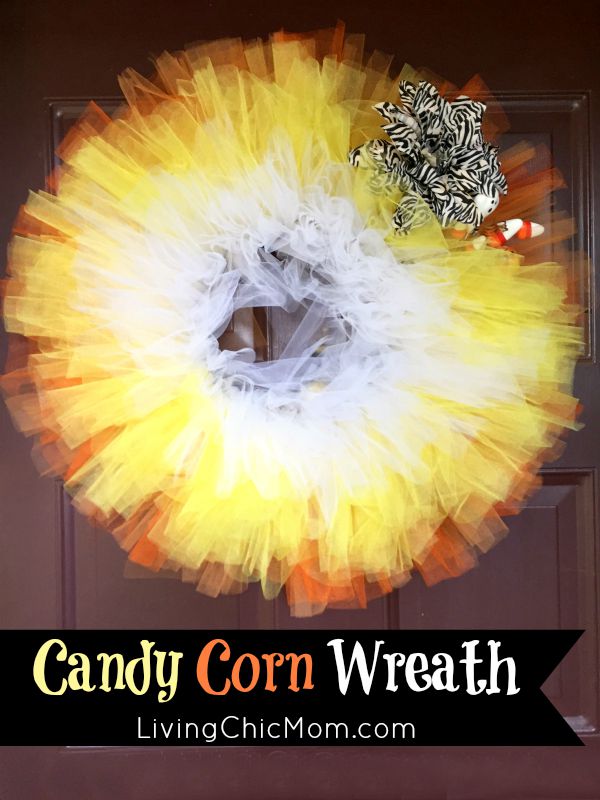
DIY Candy Corn Inspired Wreath
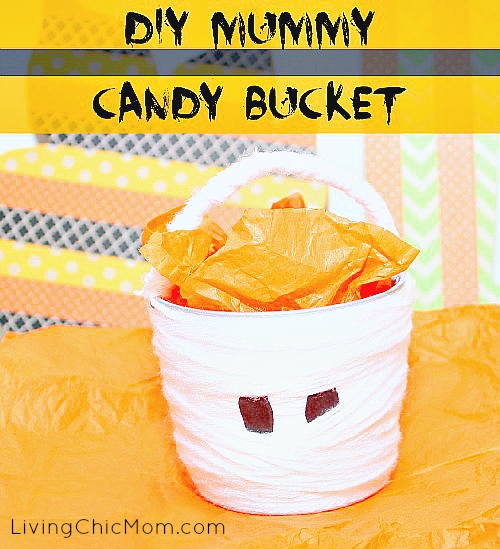
DIY Mummy Candy Bucket